The early years are a magical time in a child’s life. Play and connection with your baby set the foundation for a lifelong love of learning and play. The first three years of your child’s life are especially important, as their brain develops more during this time than at any other stage. Each new experience is a learning opportunity.
We love sharing tips with parents on how to bring Montessori into your homes.
Here are five Montessori at home activities that you can do with your little one to help them develop their love of learning and social awareness. We recommend these activities for infants aged two to seventeen months old.
Leading Montessori Infant Care in Balmoral
1. Art in a Bag
Suitable for babies from 4 months old.
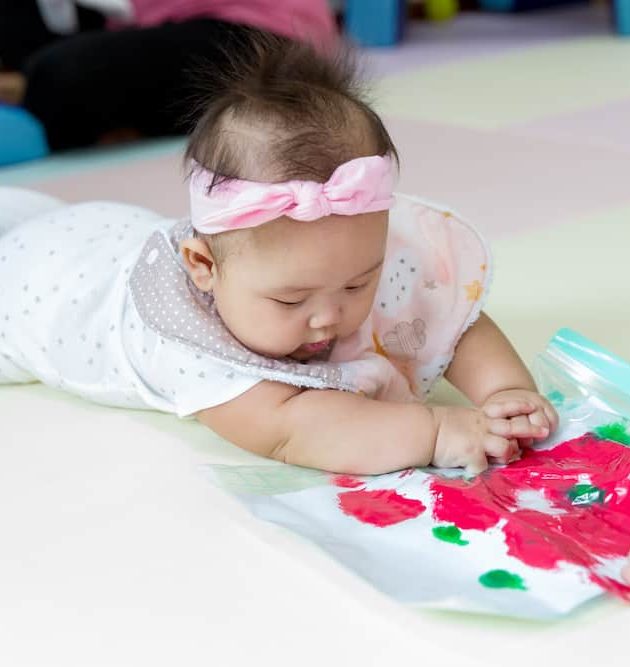
Mess-free sensory art is a great way for little ones to explore textures and colours without the mess! This activity supports your child’s sensory development and helps them to learn about the world around them.
- A4 Paper
- Ziplock Bag
- Squirt some paint onto paper
- Insert into a ziplock bag and seal
- Let infant squish, smoosh, rub, and throw bag around to their hearts delight
- Take the paper out and let dry
- You now have a piece of baby art to hang up!
Tips
- Be as animated as possible while doing this exercise to engage more with your baby.
- Some talking points:
- Swirl the paint.
- Describe what you’re doing.
- Talk about the colours you’re using.
- What textures are you feeling?
- It may feel as though you’re talking to yourself, but you’re doing a world of good for your baby!
2. Starry Night
Suitable for babies from 5 months old.
Now you can make your own starry night masterpiece! Inspired by Dutch postimpressionist painter Vincent van Gogh, whose work was notable for its beauty, emotion, and colour, this activity is great way to introduce your little one to colour and sensory development.
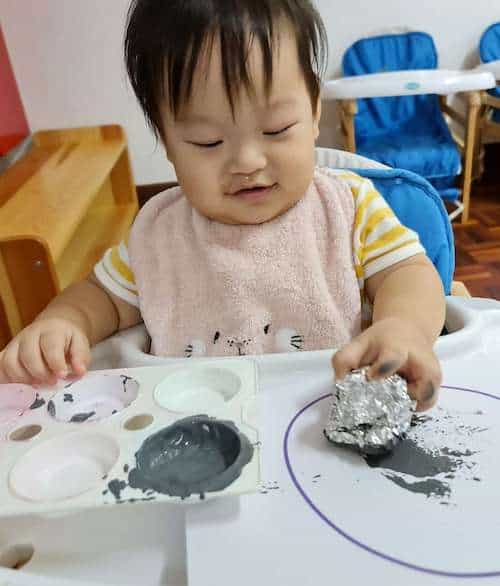
- Paste the aluminium foil to the cardboard.
- Drop some blue, black, and white paint on the foil.
- Get the child to smear the paint using their fingers to create dramatic effects on the night skies.
- When the paint is dry, help the children to paint some stars on the dry out paint and voila.
- You’ve made yourself a Van Gogh-inspired Starry Night painting.
Tips
- Be as animated as possible while doing this exercise to engage more with your baby.
- Some talking points:
- Swirl the paint.
- Describe what you’re doing.
- Talk about the colours you’re using.
- What textures are you feeling?
- Painting can get messy, so plan for waterplay or bath time after this! Also, don’t forget to put down newspapers or plastic sheeting to protect the surrounding area from flying paint.
3. Sensory Bottles
Suitable for babies from 7 months old.
We love making our own sensory bottles. They’re easy to make, fun, colourful – and so good for cognitive development!

- Empty, clean plastic bottles (with the label removed)
- Superglue or clear tape
- Pour-ins e.g. rice, dry pasta, coloured sand, quinoa, beans, split peas, small toys, sand, feathers, beads
- Pour the pour-ins into the bottle.
- Seal either with glue or tape
What To Do (for infants)
-
- Pour the pour-ins into the bottle.
- Seal either with glue or tape.
- Shake to use.
- Ask them if they can hear the different sounds?
Tips
- Sensory bottles are very good for children aged one to three years, who are in the sensitive period for small objects.
- During this period, children are fixated on small objects and tiny details, which prepare the child’s mind for understanding how little things make up their world.
- Here we have a dry sensory bottle – but do try out liquid bottles for visual sensory work as well.
4. & 5. Threading
Suitable for babies from 14 months old.
Two great threading activities for curious little hands. Have fun whilst strengthening grips and developing fine motor skills.
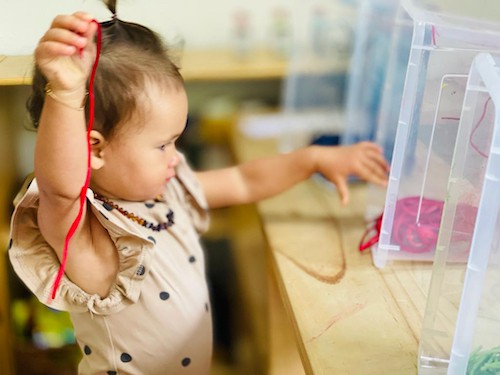
- Colander
- Container with cover
- Separate baskets for:
- Pipe cleaners
- Sticks
- Yarn
- Straws
- Place a mat on floor.
- Place the item which you would want to start first and show them to your child.
- Introduce to them how the activity is being done.
- Invite your child to the activity
- Show child how to thread the pipe cleaners through the holes in the colander.
- Complete the work cycle by removing all the pipe cleaners from the holes and place them back into the basket.
- Poke a few holes through the plastic lid of the container. Make sure they’re big enough for the sticks to go through.
- Show child how to thread the sticks through the holes from the top of the container.
- Complete the work cycle by opening the lid of the container and place the sticks back into the basket.
Tips
- These activities help to develop fine motor skills and hand-eye coordination for mobile infants (over 12 months).
- Don’t just leave them to play on their own.
- Fill the time with plenty of eye-contact and talk to them! This helps develop the natural pattern of language and conversation.
Additional Resources
Check out our blog for more Montessori at home activities and information about Montessori.

