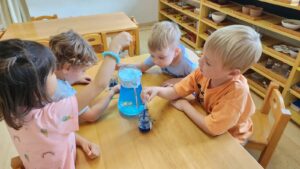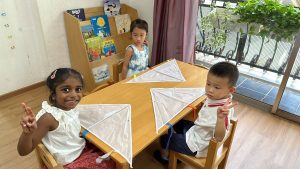
Montessori at House on the Hill: Exploring Fruits & Vegetables with Our Youngest Learners
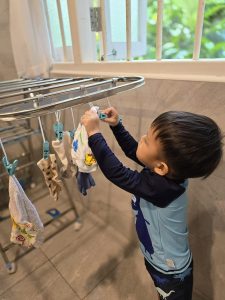
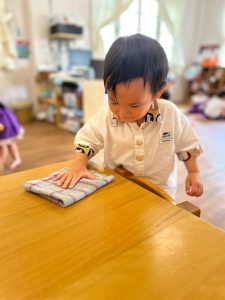
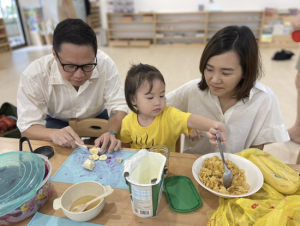
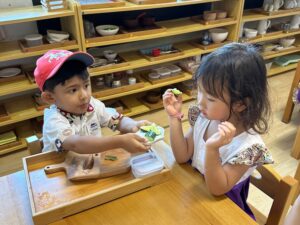
At House on the Hill, our Playgroup and Pre-Nursery children have been diving into this month’s thematic topic: Fruits and Vegetables. 🌱🍎🥕 Through hands-on exploration, songs, and activities, the children are discovering the colours, shapes, and tastes of the foods that keep us healthy and strong. What Are Fruits and Vegetables? We began the month by asking a simple question: What are fruits and vegetables? Using real produce, picture cards, and Montessori matching activities, children explored the similarities and differences. This hands-on experience sparked lots of curiosity, as little ones touched, smelled, and named the items. Parents can also read more about cultivating healthy eating in preschoolers to reinforce these lessons at home. Colours, Shapes, and Sizes 🌈 Next, we looked at the vibrant colours and unique shapes of fruits and vegetables. Sorting bright red apples from green cucumbers or comparing round oranges with long carrots gave the children opportunities to practice classification, language, and fine motor skills. For tips on encouraging independence during meal times, check out Montessori at Home: Encouraging Healthy Eating and Independence. How They Grow 🌿 One of the highlights was exploring how fruits and vegetables grow. Each child prepared a small container to plant their own seeds—tiny hands carefully filled pots with soil and water. This “tiny green thumbs” activity allowed them to see firsthand the patience and care needed to nurture plants. You can support your child’s independence in eating and food preparation by reading Montessori at Home: Eating Independently. Healthy Eating Habits 🥗 To wrap up the theme, children created their very own “Healthy Plate” collages using pictures of their favourite foods. This activity encouraged conversations about balanced meals and helped children understand the importance of eating a rainbow of fruits and vegetables every day. Learn more about how our nutrition programme complements good learning at House on the Hill. Activities to Explore at Home 🍌🍓🥦 Parents can extend this month’s theme with simple, fun activities: Sorting Game: Place a mix of fruits and vegetables in a basket and invite your child to sort them by colour, size, or type. Kitchen Helpers: Let your child wash fruits and vegetables or help tear lettuce for a salad. These practical life skills build independence. Taste Test: Offer small samples of different fruits or veggies and talk about the flavours—sweet, sour, crunchy, soft. Garden Time: Plant seeds or herbs together in a pot at home and observe how they grow. This nurtures patience and responsibility. Storytime: Read books about fruits and vegetables (like The Very Hungry Caterpillar) and encourage your child to point out the foods they know. Tips for Parents 🌟 When doing these activities at home with your child, here are a few things to keep in mind: Safety First: Always supervise your child, especially when handling small items, seeds, or kitchen tools. Offer child-safe alternatives (e.g., a blunt knife for cutting soft fruit). Embrace the Mess: Activities like washing vegetables, or planting may get a little messy—this is part of the fun and learning process! Prepare a mat or tray to contain spills. Follow Their Lead: Montessori emphasizes independence—let your child choose which fruits or vegetables to work with, and allow them time to explore at their own pace. Encourage Language: Use these moments to introduce new vocabulary (“smooth,” “crunchy,” “juicy,” “round,” “green”) and encourage your child to describe what they see, feel, and taste. Model Healthy Choices: Show excitement when trying new foods. Children often mirror their parents’ attitudes—if they see you enjoying vegetables, they are more likely to try them too. Keep It Age-Appropriate: Tasks like sorting, washing, and tearing are perfect for toddlers. For older children, you can introduce more complex steps like peeling bananas or measuring soil for planting. Celebrate Effort, Not Perfection: Focus on the joy of exploration rather than achieving “perfect” outcomes. A lopsided lettuce leaf torn by tiny hands is still a proud accomplishment! Joy in Learning Through art, music, sensory play, and even outdoor exploration, this thematic topic gave children countless opportunities to experience the Montessori approach: learning through real-life experiences, independence, and joyful discovery. At House on the Hill, we believe these early hands-on experiences not only teach children about the world around them, but also foster curiosity, healthy habits, and a lifelong love of learning. Browse our Parent Blog for more helpful resources, or reach out to our school Principals for support tailored to your family.