Montessori at Home: Santa Claus Fruit Skewers!
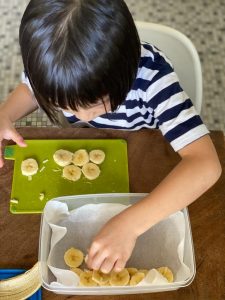
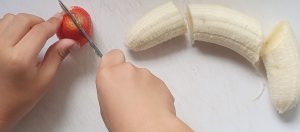
Christmas is in the air and many families are gearing up to celebrate the occasion or the end of the year. Whilst you are in the kitchen planning your festive menus, it’s a good time to involve the children in the planning, shopping and preparation for the feasting to come. Here’s a healthy and delicious Christmas-themed cookery Montessori at Home activity for you to make with them. Preparing simple dishes with your child have many benefits. Besides spending quality time with your child, it is also a great way to introduce new fruits or food to them. Some children need more time to accept and try new food, this is perfectly normal. In school, our teachers use positive reinforcement to encourage trying new foods, we recommend parents do the same. Santa Claus Fruit Skewers Ingredients/Equipment Needed Fruits such as banana, strawberry, grapes Mini Marshmallows Chocolate bits (eyes) Butter knife Chopping Board Skewers Steps: Step 1. Cut the fruits into smaller slices Tip: let older children do this by themselves with supervision. We recommend parents pre-cut the fruit for younger children and lay them out to be assembled. Step 2. Insert the banana through the skewer. Step 3. Next up, the strawberry and marshmallow (above and below the strawberry) Step 4. Place the grape to make the “mouth” portion. Step 5. Next, place the chocolate bits as “eyes” and the Santa Claus appears! Do look out for the look of pride on their faces when they have completed this task! Perhaps you can help them to present the skewers nicely on a tray or plate to share with the rest of the family? We recommend making lots of skewers as they’re delicious and will be a hot favourites when they’re served! We wish all our families and friends a very happy and joyous season!